How to setup a custom domain
Learn how to set up and seamlessly integrate your own domain to host your website.
Table of Contents
1. Add Your Custom Domain
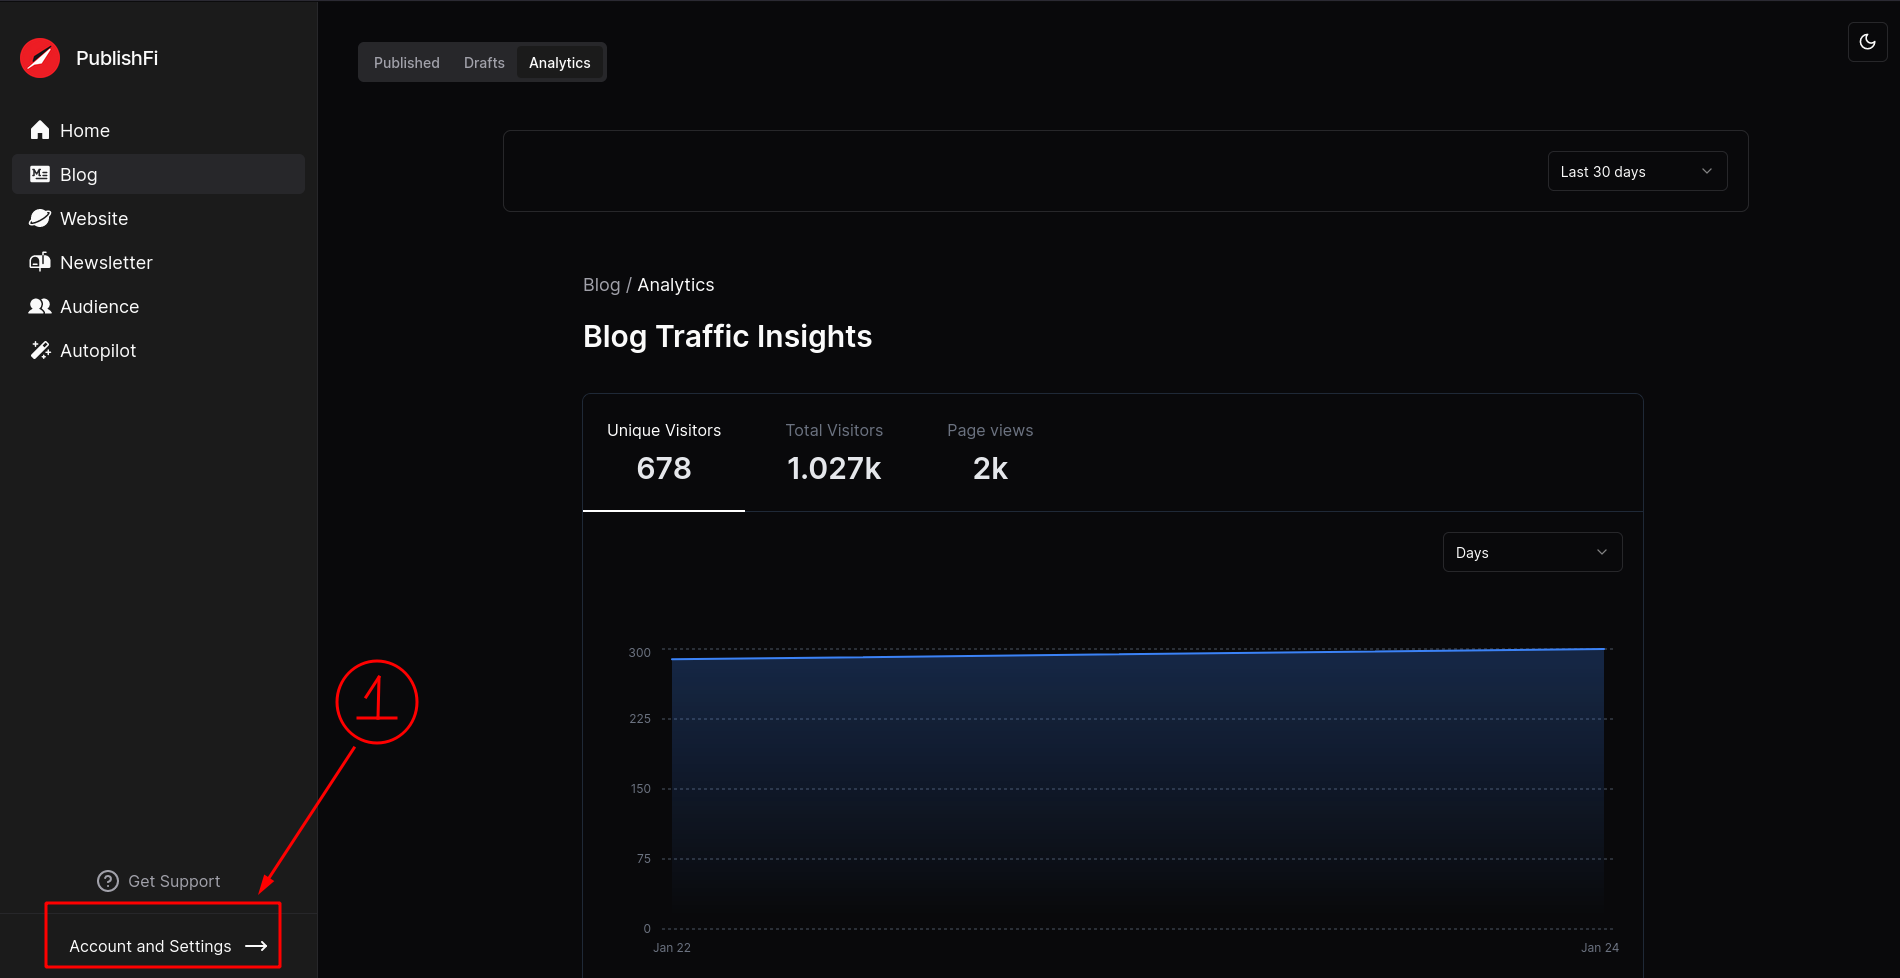
In the publishfi dashboard, navigate to the Settings section.

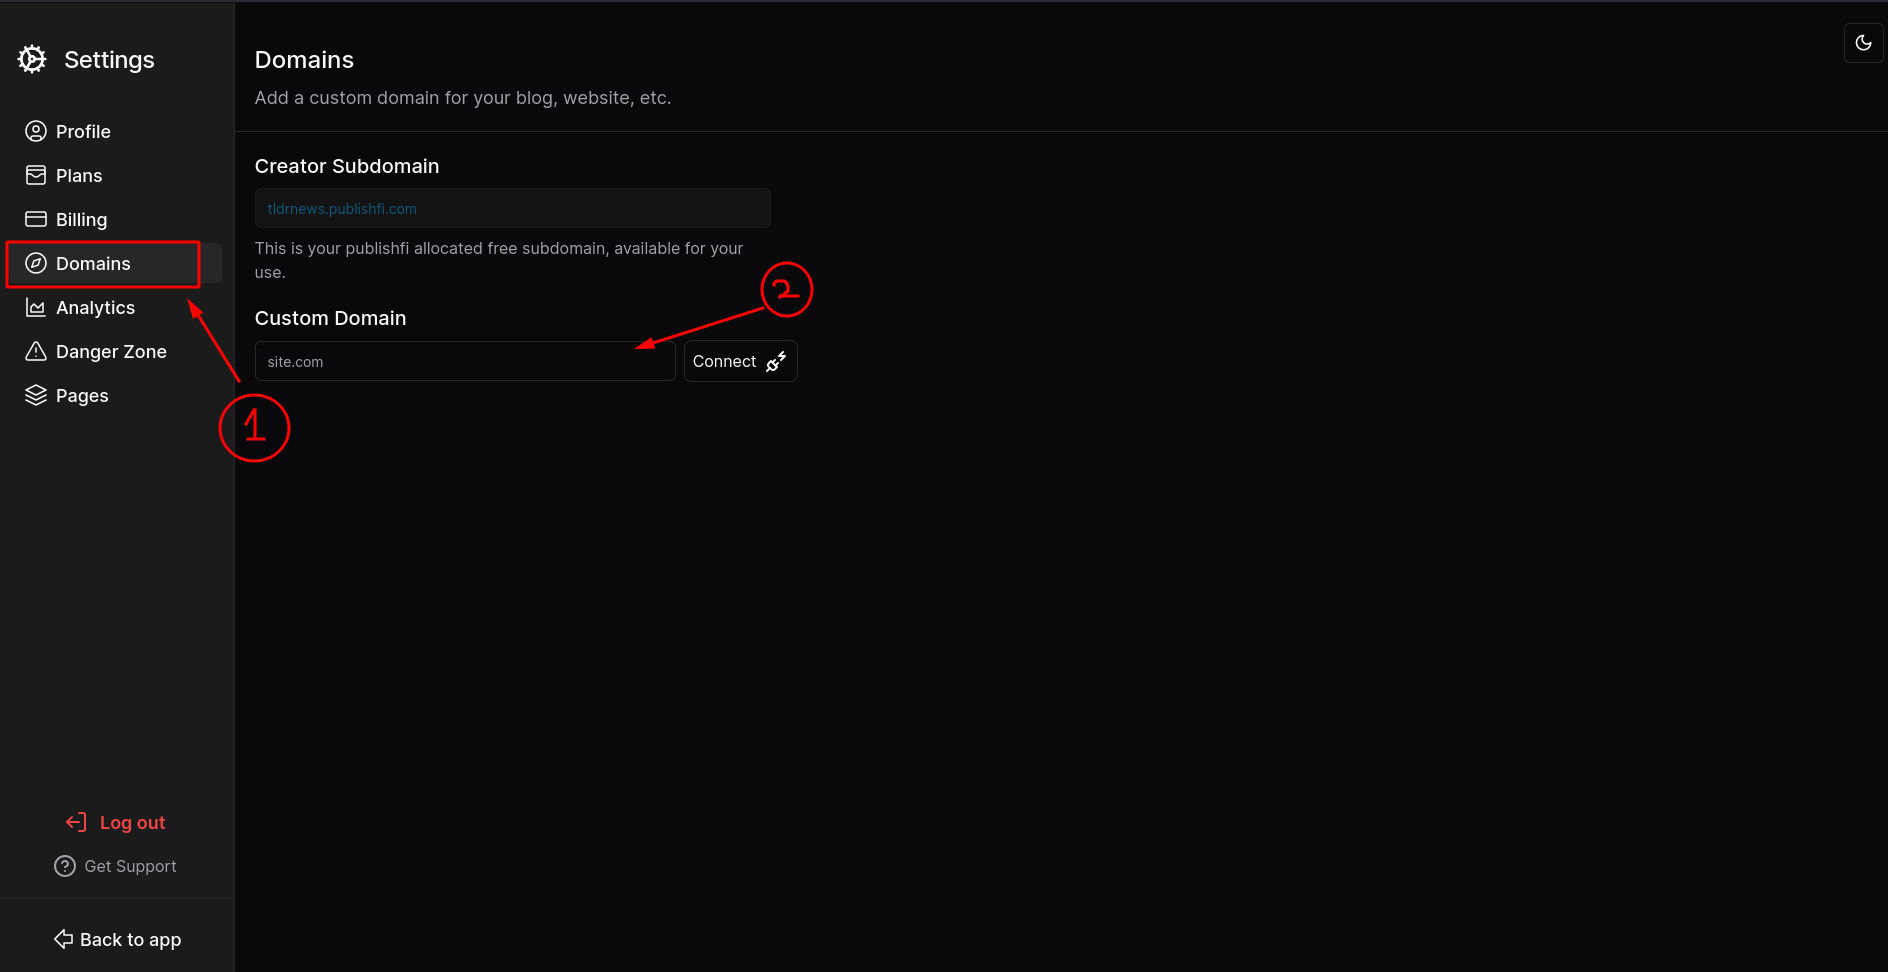
Click on Domains and enter your domain under custom domain and click Connect.

for the example here we've used the domain frotes.com
2. Update Your DNS Records
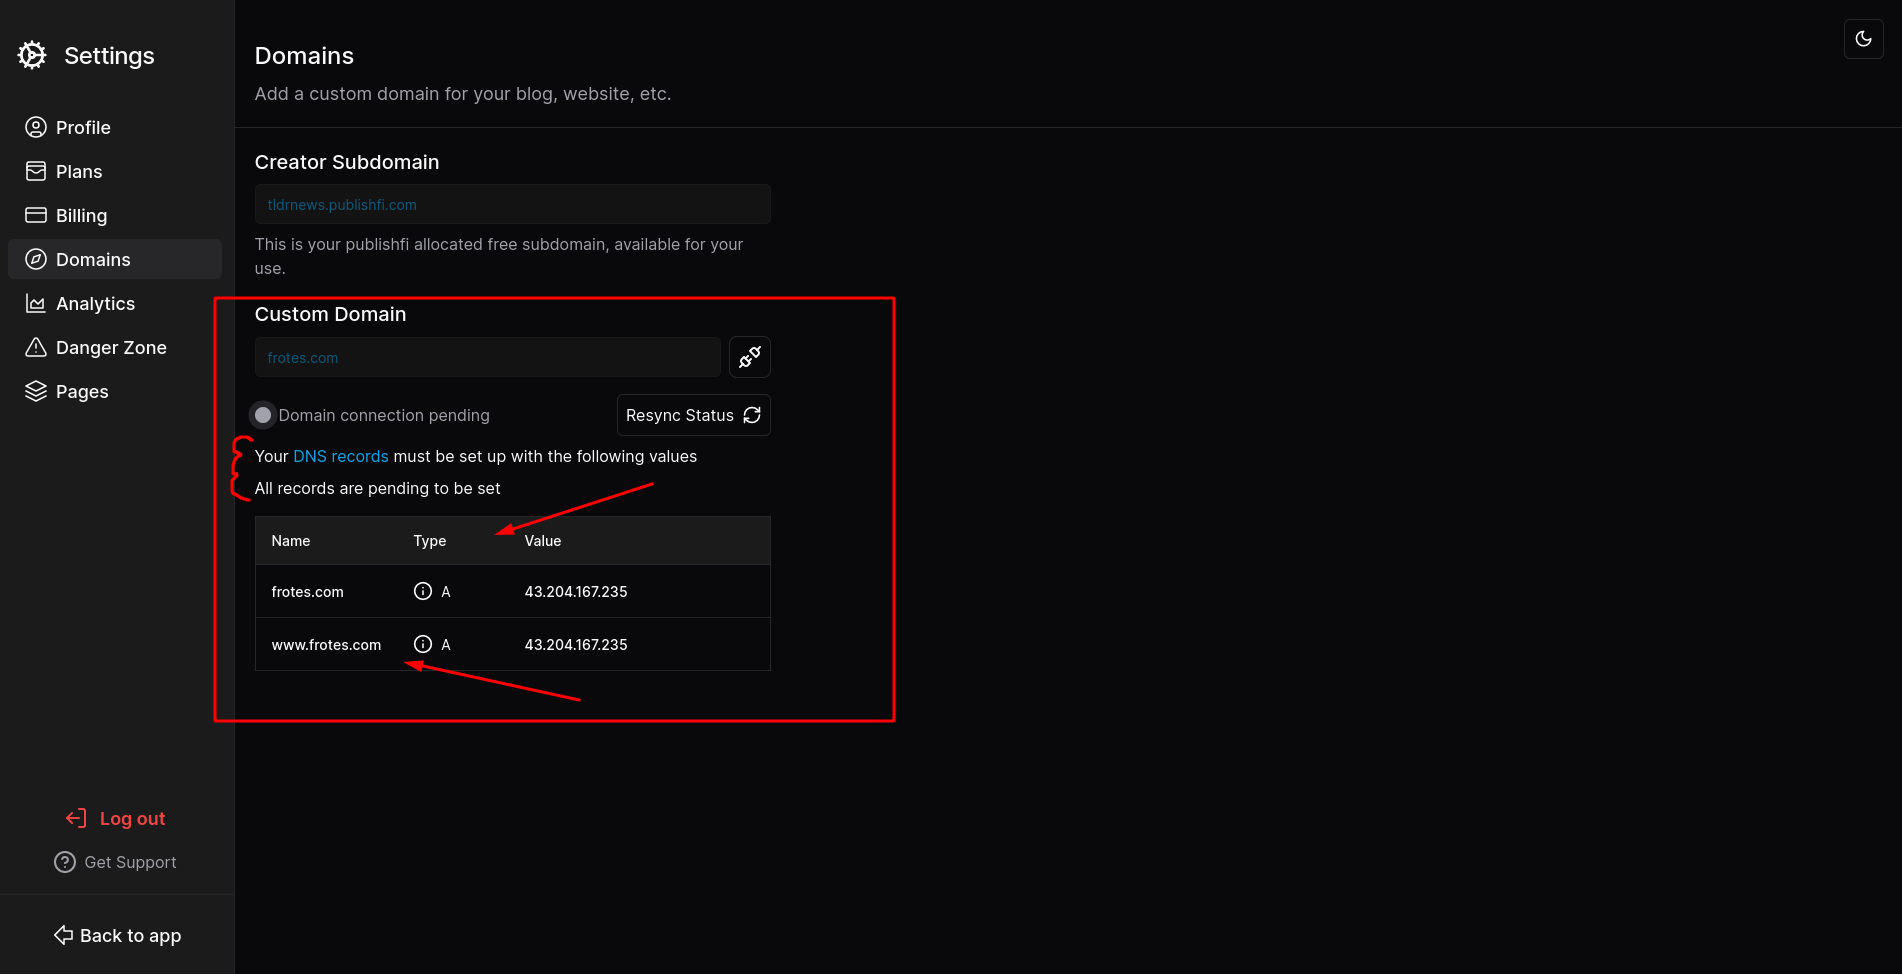
To configure your custom domain, you’ll need to set up two A records in the DNS settings with the values provided to you in your dashboard.

These values above are for example purpose only, the values appropriate for you will be provided in your Settings>Domains section.
Depending on your DNS provider the name is either the full domain, or an “@”. Similarly for the subdomain, it will be either the full domain or just “www”.
TTL (Time to live)
You may normally set the TTL for each record. It notifies other servers, in seconds, how long to keep the result in memory.
Domain Providers
To publish your website, you’ll need a custom domain purchased through a web hosting service. Listed below are some of the well known domain registrars:
Troubleshooting
Make sure to erase all additional A and AAAA records. They might override the ones you've set up and point to the incorrect server.
3. Verify the Connection
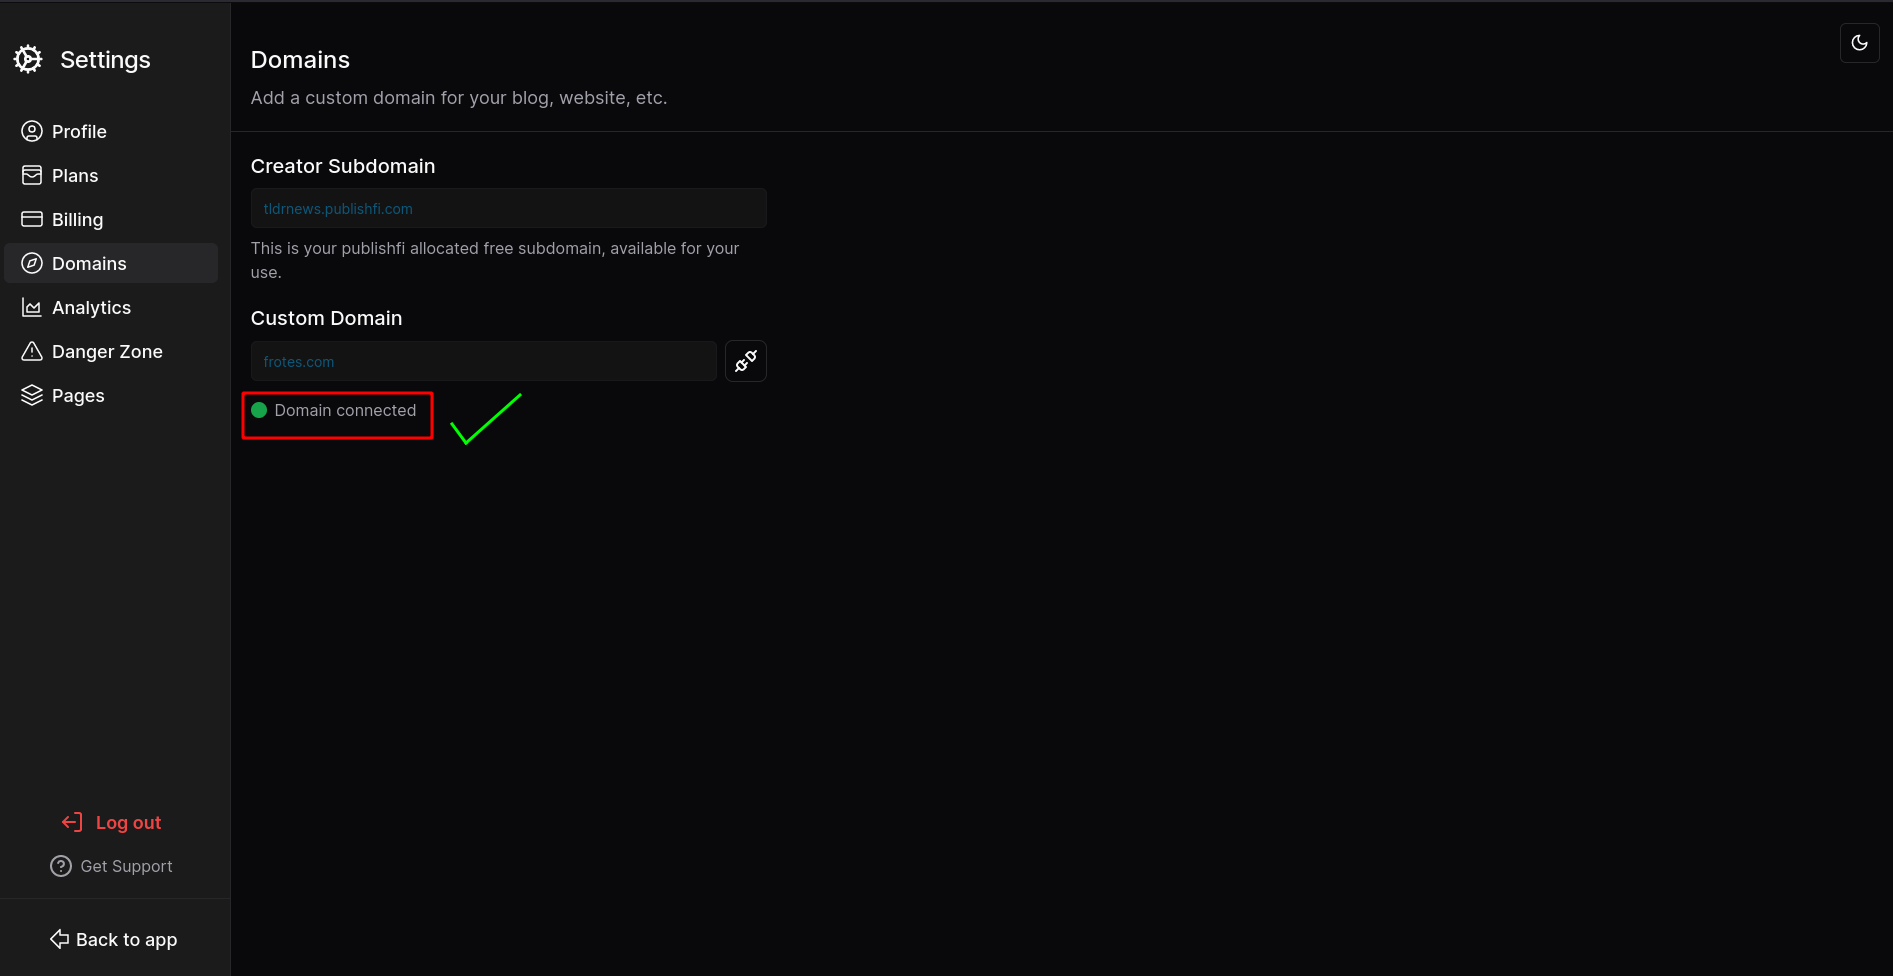
Finally, go back to Domain Settings and click refresh and it should now also confirms that your domain is connected.

4. Your site is connected !
Congrats ! , you’re site is now connected, you can now move on to publishing and hosting your own Blog and Website.
Facing “Domain Taken” Error ?
You probably have another project utilizing your domain if you receive an error saying it has already been taken. Add the domain to the project you want and remove it from the current one. Contact support if it doesn't work.

