How to set up a theme
Table of Contents
Getting Started with Themes
Setting up a theme is one of the first steps in creating your PublishFi website. This guide will walk you through the process of selecting and configuring a theme that matches your vision.
--TODO: add image here--
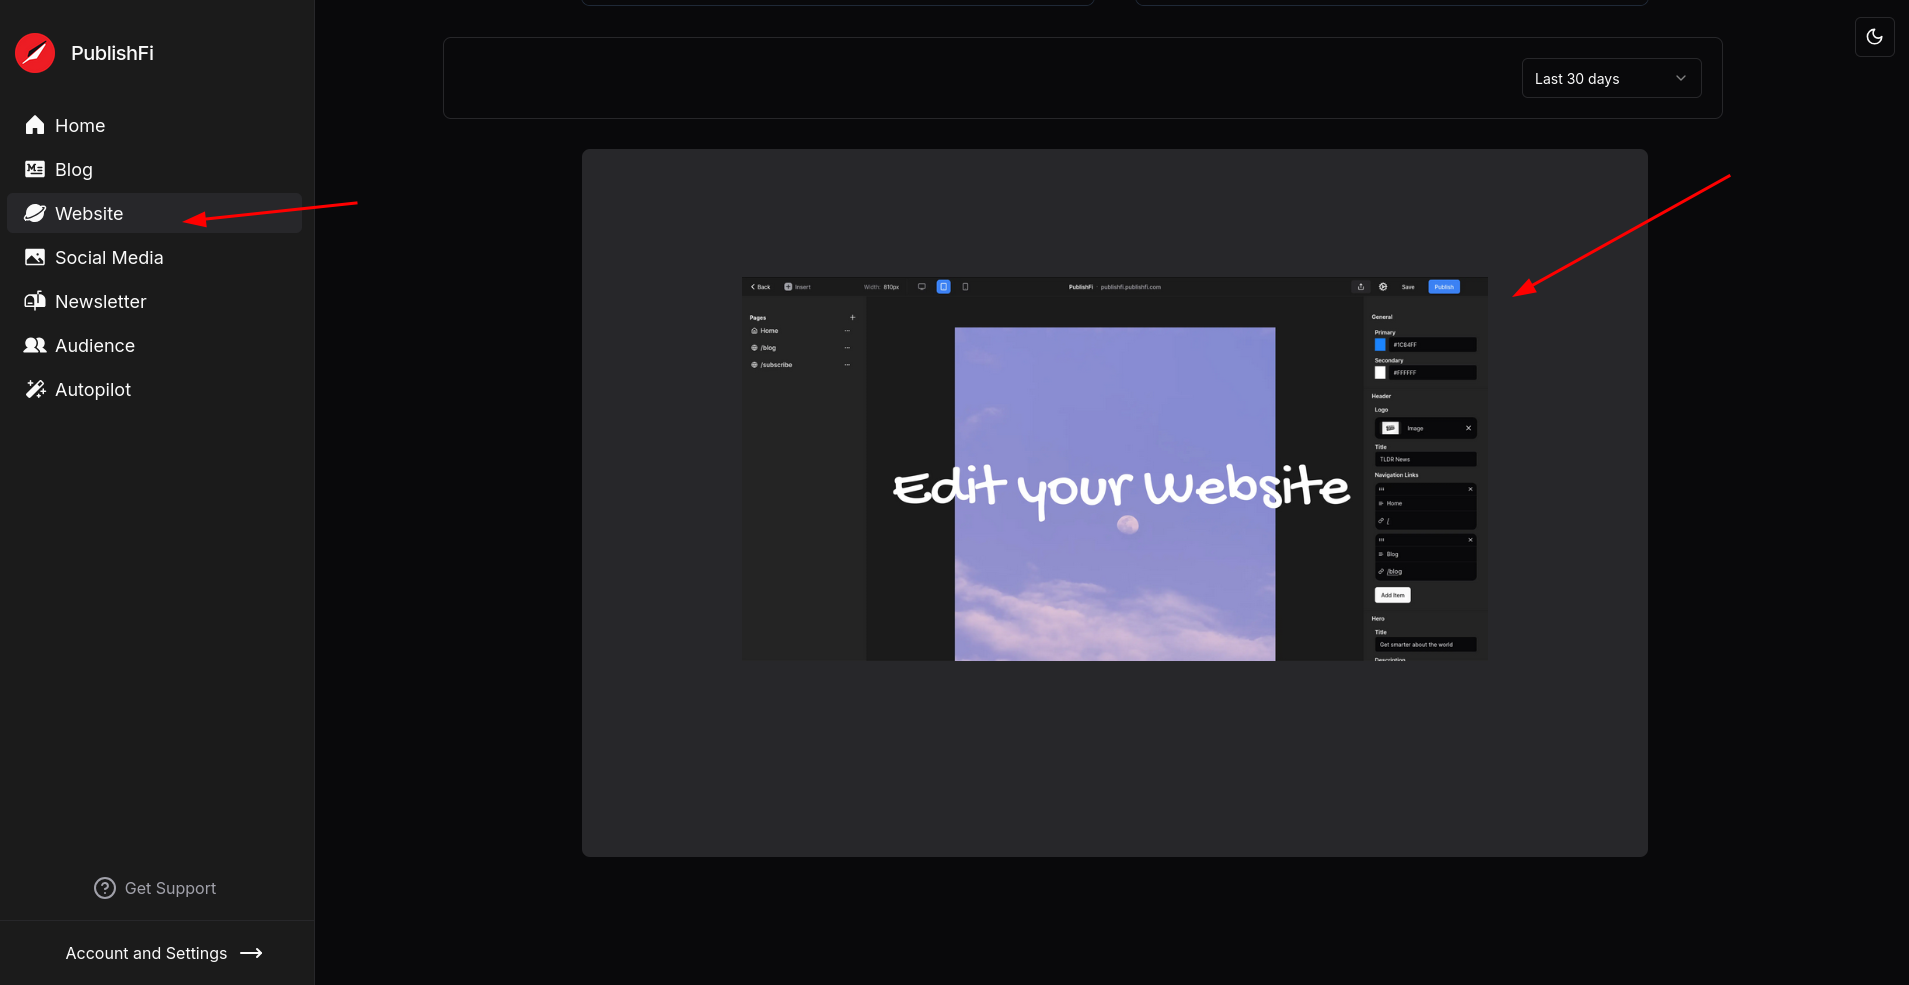
Step 1: Open the Website Editor
Before you can set up a theme, you'll need to access the Website Editor:
- Go to the Website Tab
- Scroll to the bottom and click on the "Edit your Website" banner highlighted at the bottom of the page
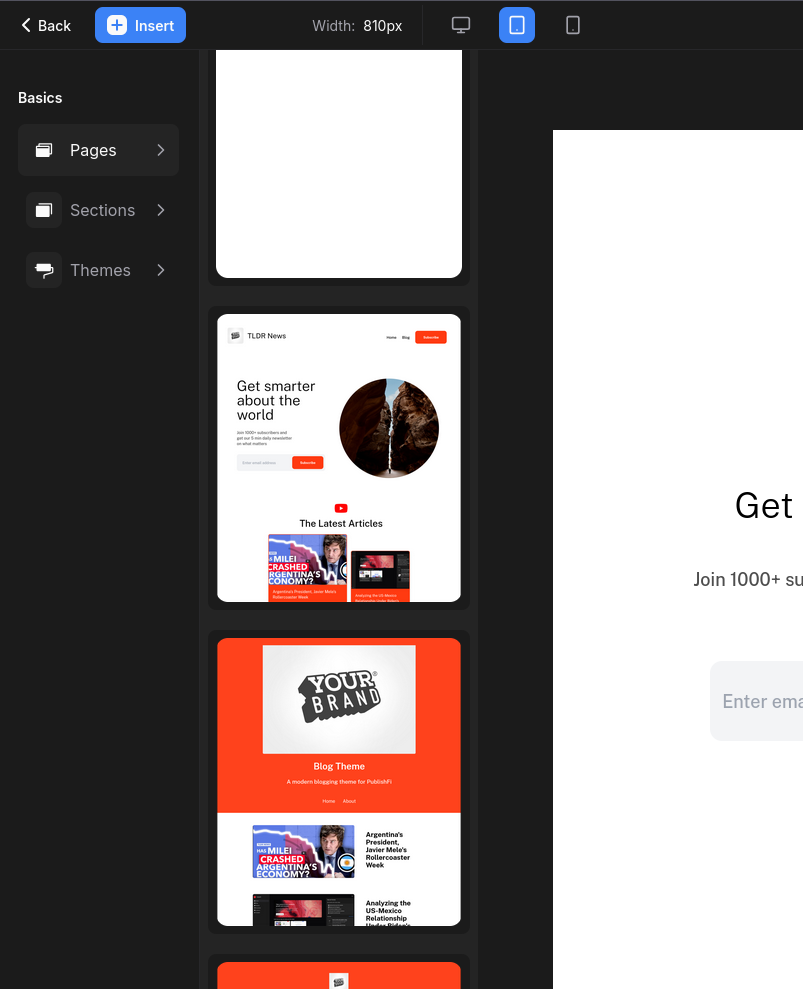
Step 2: Select a Theme
After opening the website editor for the first time, you'll be prompted to select a theme:
- Browse through the available themes in the theme selection panel
- Click on a theme that appeals to your brand and style
- You can preview how each theme looks before making your final decision

Don't worry about making the perfect choice right away - you can always change your theme later or customize it to better suit your needs.
Theme Selection Tips
- Consider your industry and audience when selecting a theme
- Look for layouts that will showcase your content effectively
- Think about the features you'll need (blog, portfolio, contact forms, etc.)
- You can browse our complete theme catalog at publishfi.com/themes before making your decision
--TODO: add image here--
Step 3: Customize Your Theme
Once you've selected a theme, you can begin customizing it to match your brand:
- Update the logo: Add your own logo to establish your brand identity
- Adjust colors: Modify the color scheme to match your brand colors
- Change fonts: Select typography that reflects your style
- Customize content: Replace placeholder text and images with your own
Step 4: Configure Key Pages
Most themes automatically create essential pages for you, including:
- Home page
- Blog page
- Subscribe page
Customize these pages to match your brand's voice and style. You can edit text, replace images, and adjust layouts as needed.
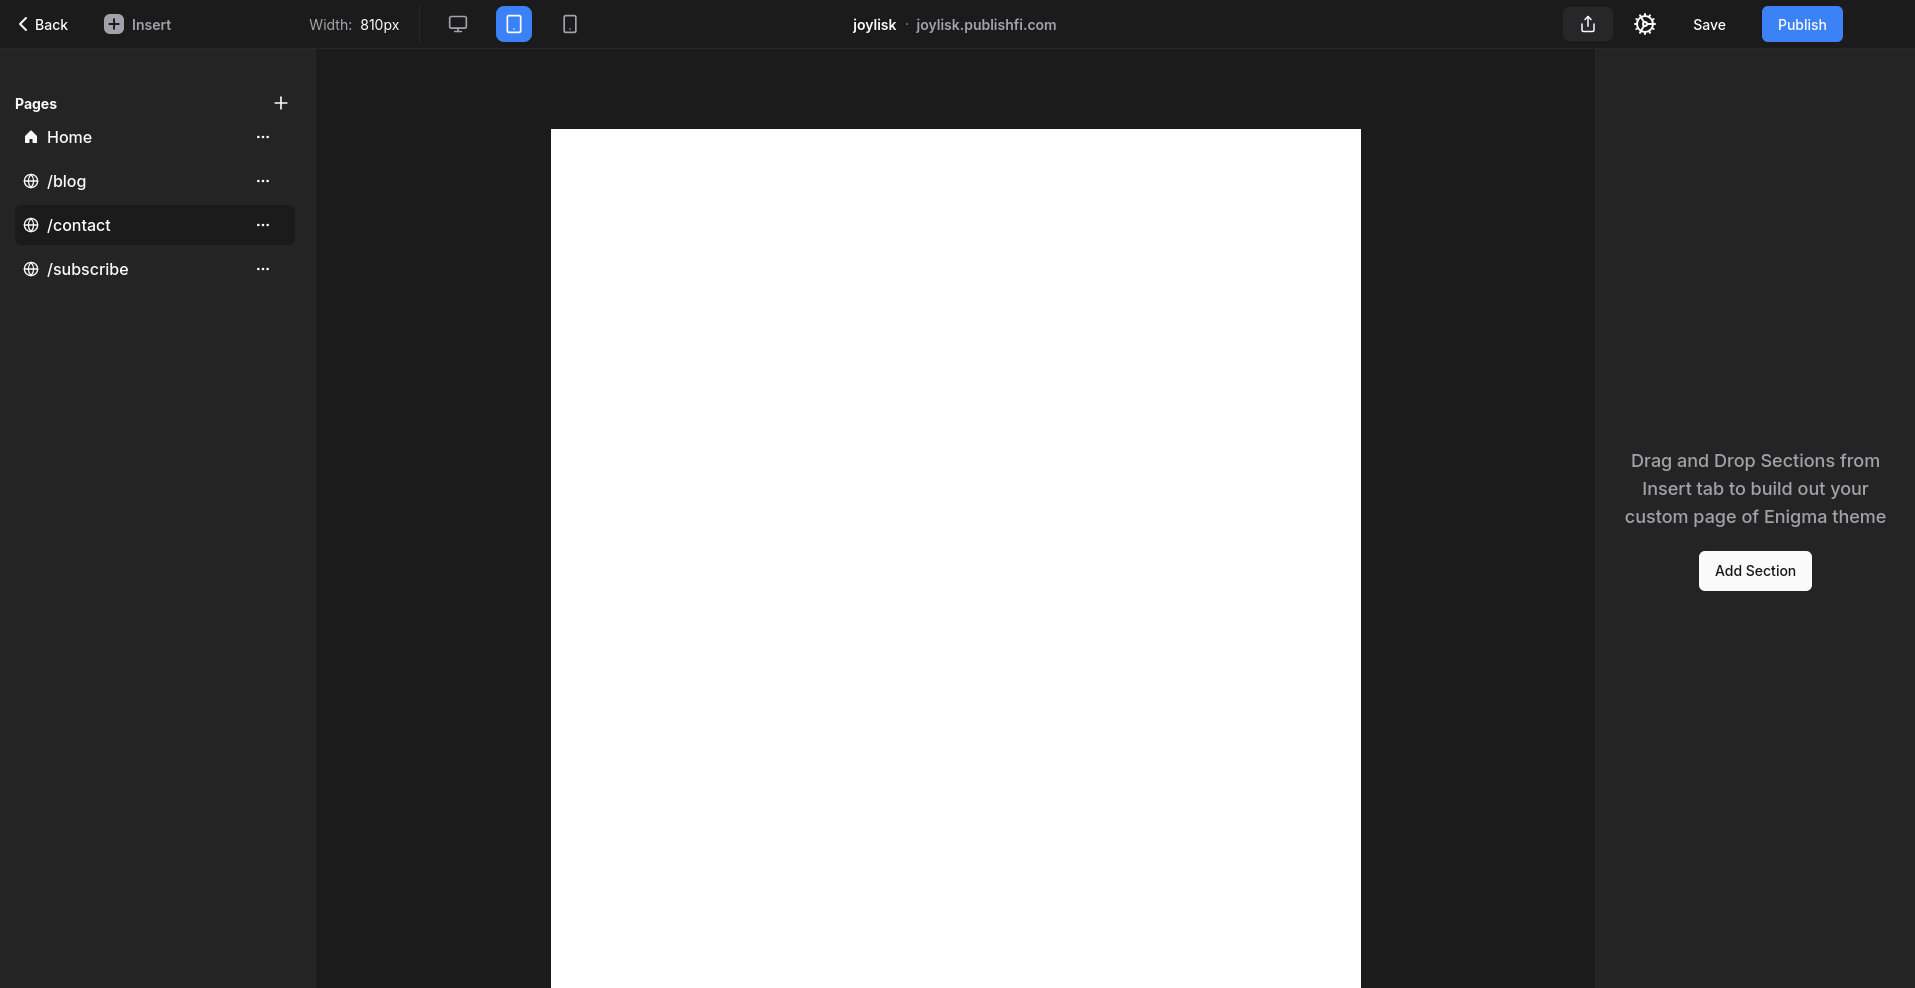
Step 5: Add Additional Pages
You can add more pages to your site as needed:
- Click the "+" button in the left sidebar of the Website Editor to add a blank page
- Or use the Insert menu to add pre-designed page templates from your theme
Step 6: Publish Your Website
When you're satisfied with your theme setup and customizations:
- Click the "Publish" button in the top right corner of the Website Editor
- Your website will go live with your selected theme and customizations

Next Steps
After setting up your theme, consider these next steps:
- Add your content to each page
- Set up your blog if you plan to publish articles
- Configure your newsletter if you want to collect subscribers
- Customize your navigation menu to help visitors find important pages
--TODO: add image here--
Remember, you can continue to refine your theme settings at any time through the Website Editor. PublishFi makes it easy to update and maintain your site, so you can keep your content fresh and engaging.
